We’ve heard that many adventurers are concerned about the lives of the villagers in Iron Bucket Village? Life in Iron Bucket Village has been getting better and better lately. After discussing with the village chief, the editor decided to bring you a new segment for Iron Bucket Village~ The Iron Bucket Village Renovation Series! With this series, while following the daily life of Iron Bucket Village, adventurers can also step-by-step transform their own towns!
As Iron Bucket Village continues to develop, the villager apartments are also constantly being upgraded and expanded. Apartment No. 1 has been extended with a new floor adding many beds, and Dormitory No. 2 has also risen beside the village center lake.
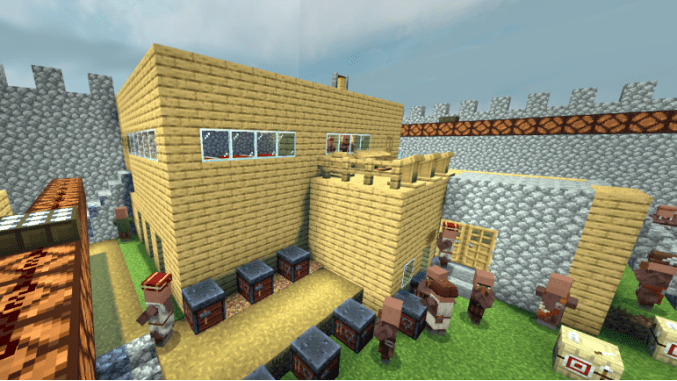
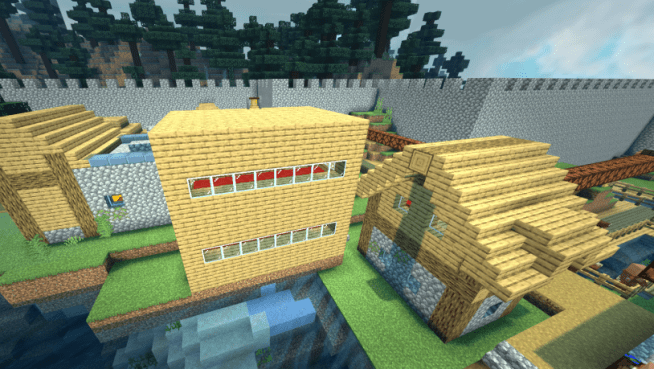
In order to start work faster, villagers have voluntarily moved into the villager apartments closer to the work areas. As a result, many villagers’ original (small, dilapidated) homes have become vacant.
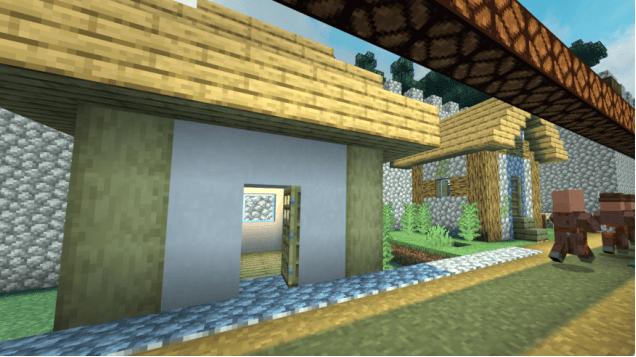
Editor! These empty houses feel like such a waste… Don’t worry, watch me turn decay into magic!
Villager cottages are ready-made shelters and are perfect for adventurers in the early survival stages~ Next, the editor will renovate villager cottages based on different layouts. Let’s start our first renovation task right away!
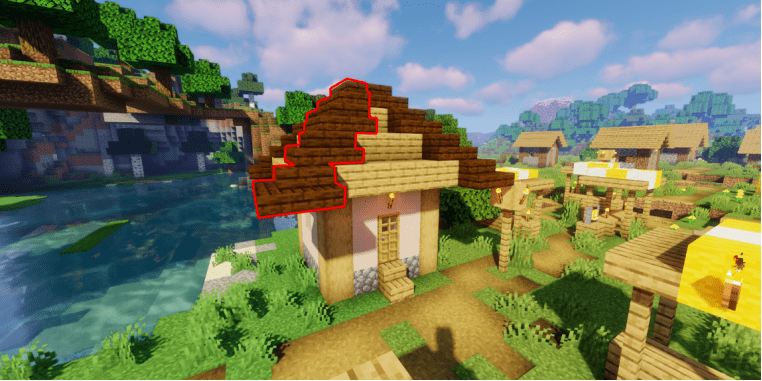
The construction style of this layout is very simple. The roof is a pagoda-style top haphazardly stacked with oak planks, and the interior living space is also very cramped.

The first step to adding character is to simply refine the roof. First, use dark oak stairs (adventurers can also use other wood accents depending on the village’s biome) to wrap the four ridges of the pagoda roof in groups of three.
Use oak stairs to connect the bottom layer of dark oak stairs, and highlight the center of the roof with dark oak planks.
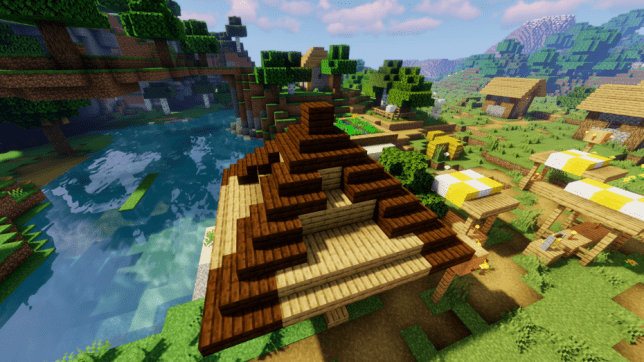
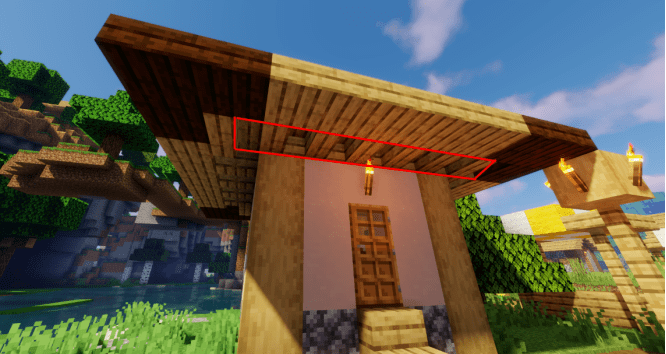
Finally, replace the oak planks against the walls with upside-down oak stairs, all facing the same direction. Three easy steps to fix the roof~
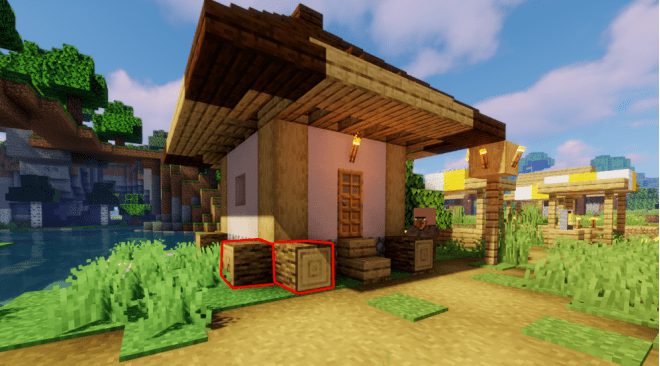
Next, wrap the four corners of the house with oak logs. Place two blocks at each corner as shown below (other wood blocks can also be used~).
Place oak fences on each log, connecting them to the roof.
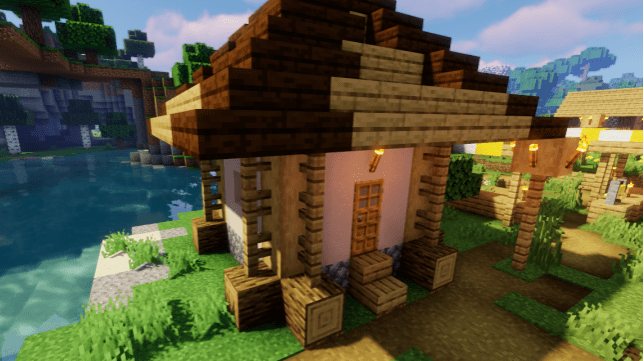
Place a ring of cobblestone stairs against the bottom cobblestone layer of the house.
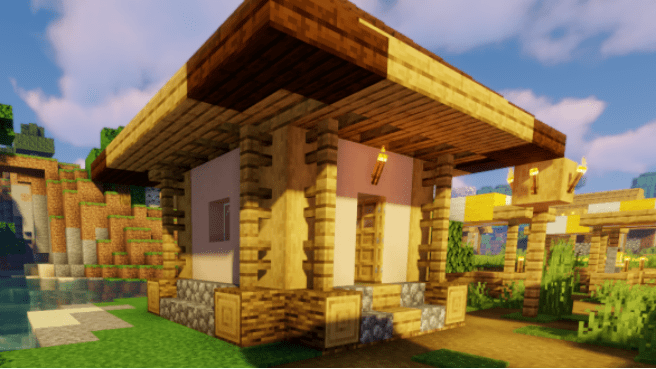
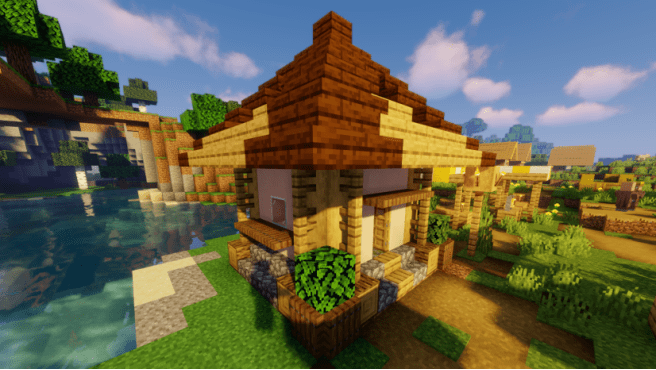
Finally, use spruce trapdoors to add window sills, door canopies, and decorative small flower beds. After these four steps, the exterior renovation is complete~
The simplest way to solve the space problem is to dig downwards to create a basement. After digging a 3*3*3 basement, adventurers can also line the walls and floor with oak planks.

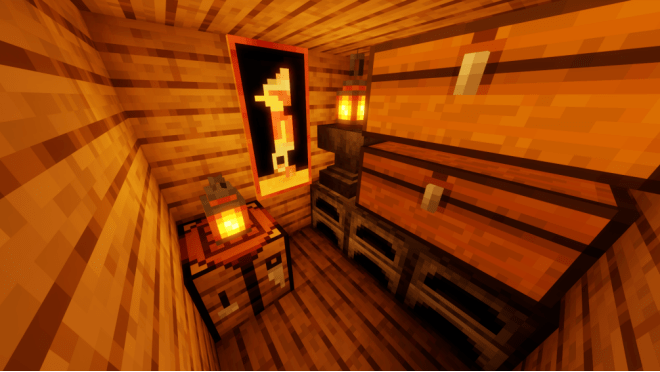
The ground floor serves as the resting area. Just place the basic living essentials—the interior renovation can be done in just two steps!
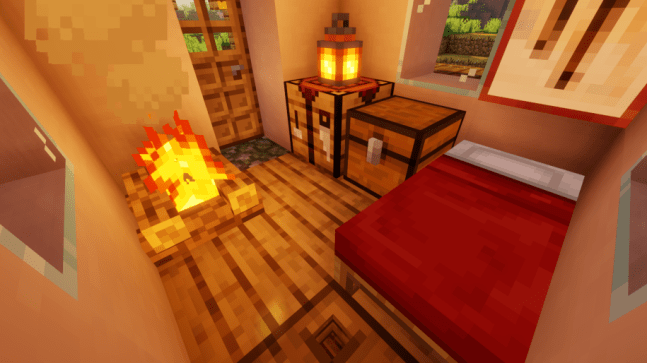
The final step can greatly enhance the house’s sense of refinement. Add some nice decorations to create atmosphere~ Flower pots on the windowsills, item frames + torches, plants and lanterns hanging under the eaves are all good choices.

Renovation complete! The original “old, broken, small” house has transformed into a warm little home for adventurers in the early survival stage~


The materials used in the renovation are all very easy to obtain and can be acquired effortlessly even in the early survival stage. Adventurers who want a nice little home but lack materials, give it a try soon~


