1. Basic Understanding of Monster Spawners
1.1 What is a Monster Spawner?
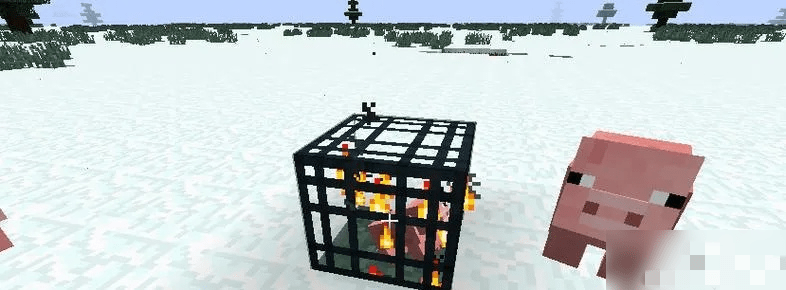
A Monster Spawner is a block in Minecraft that can continuously generate specific mobs. They are commonly found in structures like dungeons, abandoned mineshafts, and Nether fortresses. Different types of spawners generate different mobs, including Zombies, Skeletons, Spiders, Cave Spiders, and Blazes.
1.2 How Monster Spawners Work
Three key conditions must be met for a spawner to activate: First, the light level in the surrounding area must be below 7. Second, a player must be within a 16-block radius of the spawner. Finally, the spawner will attempt to spawn mobs within an 8×8×3 area centered on itself. Understanding these mechanics is fundamental to successful modification.
2. Preparations Before Modification
2.1 Safety Measures
The primary task before starting modification is ensuring construction safety. The most basic method is to place torches around the spawner, raising the light level above 7 to temporarily stop mob spawning. Especially when dealing with a Cave Spider spawner, you should also prepare milk for curing poison and wear a full set of iron armor.
2.2 Tools and Material Preparation
- Pickaxe and Shovel: For excavating the surrounding area.
- Torches: To provide light and deactivate the spawner.
- Building Materials: Cobblestone, stairs, fences, etc.
- Redstone Components: Hoppers, comparators, pistons, etc. (for automation designs).
- Water Buckets: For creating water stream transport systems.
3. Universal Modification Framework
Regardless of the spawner type, modifications follow the same core framework:
3.1 Standard Excavation Dimensions
Excavate a 9×9 area horizontally centered on the spawner, ensuring a vertical clearance of 3 blocks, forming an effective 9×9×3 spawning space. This size maximizes spawning efficiency without exceeding the spawner’s effective working range.
3.2 Water Stream Transport System
Place a water source on one edge of the 9×9 platform so the flowing water pushes generated mobs to the opposite side. Note that water can only flow a maximum of 8 blocks, so special handling is needed at the 8th block to ensure transportation effectiveness.
4. Detailed Modification Plans for Specific Spawners
4.1 Zombie Spawner Modification Plans
4.1.1 Manual Killing Design
This plan is suitable for the early game, allowing simultaneous acquisition of experience and loot. Specific steps:
- After completing the basic space excavation, place a water source on one side of the platform.
- Dig a killing pit of appropriate depth at the end of the water stream.
- The player stands in the killing pit, able to attack the mobs’ lower bodies while avoiding damage.
- Install hoppers and a chest at the bottom for automatic loot collection.
4.1.2 Fall Damage Automation Design
This plan uses fall damage to automatically kill mobs, enabling fully automatic operation. Key construction points:
- A 22-24 block height difference is needed from the spawning layer to the collection layer.
- Place slabs at the landing point to prevent baby zombies from escaping.
- Configure hoppers connected to chests for automatic loot collection.
4.1.3 Experience Gain Optimization
Although mobs killed by fall damage don’t grant experience, you can control the fall height so mobs are left with minimal health, allowing the player to deliver the final hit for experience.
4.2 Spider Spawner Modification Plans
Spider spawner modifications are more complex due to spiders’ wall-climbing ability and capacity to climb over 1-block-high obstacles.
4.2.1 Basic Modification Steps
- Excavate a 9×9 area centered on the spawner, and dig down one more layer to form a 9×9×3 space.
- Place a water source on one edge, using the flow to push spiders downstream.
- Set up a collection point at the end of the water stream where all spiders will fall from a specific spot.
- Cave spiders need to fall from a height of 14 blocks to be left with half a heart of health, allowing the player to kill them in one hit.
4.2.2 Anti-Escape Design
Due to spiders’ climbing abilities, special protective measures are necessary:
- Install fences around the collection point to prevent spiders from escaping.
- Use sweet berry bushes or campfires as additional barriers.
- Ensure spiders cannot climb back to higher ground.
4.3 Skeleton Spawner Modification Plans
Skeleton spawners are among the most valuable to modify, as skeletons drop useful resources like arrows and bones. Key points include setting up a safe attack position for the player while limiting the skeletons’ firing angles.
4.4 Blaze Spawner Modification Plans
As potentially the most difficult spawner type to modify, Blaze spawners are located in Nether fortresses with complex and dangerous surroundings. Focus on lava protection and preventing falls from heights during the modification process.
5. Advanced Modification Techniques
5.1 Redstone Automation Systems
Redstone circuits can enable intelligent control of spawners:
- Use piston doors to create suffocation traps.
- Design pulse circuits to control the pace of mob processing.
- Utilize comparators and hoppers to build item sorting systems.
5.2 Efficiency Optimization Plans
- Light Control: Place blocks above the spawner to prevent sunlight interference.
- Spawning Platform Optimization: Ensure the spawning platform is completely dark, while the transport channels are adequately lit.
- Anti-Clogging Design: Implement measures to prevent mob pile-ups according to different mob behaviors.
6. Handling Special Situations
6.1 Multiple Spawner Clusters
When encountering clusters of spawners, especially Cave Spider spawners in abandoned mineshafts, you can build a super-fast experience tower or resource farm.
6.2 Space-Limited Solutions
If a spawner is generated close to the bedrock layer, preventing the construction of a standard-height drop tower, alternative methods like drowning traps or magma block damage can be used.
7. Frequently Asked Questions
7.1 Can spawners be mined and moved?
In Survival mode, spawners cannot be mined, not even with a Silk Touch enchanted tool. The only option is to modify and utilize them in their original location.
7.2 What to do if spawn rates are low after modification?
Low spawn rates are usually caused by three reasons: the environment light level is too high, the player is too far away, or the spawning platform design is poor causing mob pile-ups. Check and optimize each factor.
7.3 How to prevent accidents during the modification process?
Always prioritize safety. Ensure the spawner is completely deactivated before starting construction. Carry sufficient weapons and food, and set up a temporary safe point.
8. Summary
Modifying monster spawners is an important skill in Minecraft Survival mode, providing players with a stable source of experience and materials. Start by practicing with simple Zombie spawners, gradually mastering core techniques like water stream transport, fall damage control, and Redstone automation. Ultimately, you will be able to design efficient and safe automatic farms based on different spawner types. Remember, successful modification requires not only technical knowledge but also patience and meticulous attention to detail during construction.


