1. What basic materials are needed to make a car?
To build a car in Minecraft, you first need to prepare core materials: wood or planks for the body frame, black wool or dyed blocks for the tires, and glass or iron bars for the windows. The power system relies on redstone components, including redstone dust, sticky pistons, and redstone blocks, which are key to achieving movement. Decorative elements such as beacons (headlights) and carpets (seats) can be freely added based on design. It is recommended to gather sufficient resources in the early stage to avoid interruptions during construction.
2. How to plan the overall structure of a car?
The car structure is divided into three parts: chassis, body, and tires. The chassis is the foundation and should be built with sturdy blocks (such as stone or metal blocks) into a rectangular frame, with a recommended length of 7-9 blocks and a width of 4-5 blocks. The body is constructed on top of this using planks or iron blocks, with attention to reserving space for windows and doors. Tire layout is crucial: maintain a 3-block gap between left and right wheels and a 4-block gap between front and rear wheels to ensure stability. Referencing real car models during design can enhance realism, but adjustments must be made to suit the game’s block mechanics.
3. What are the specific steps to build tires and chassis?
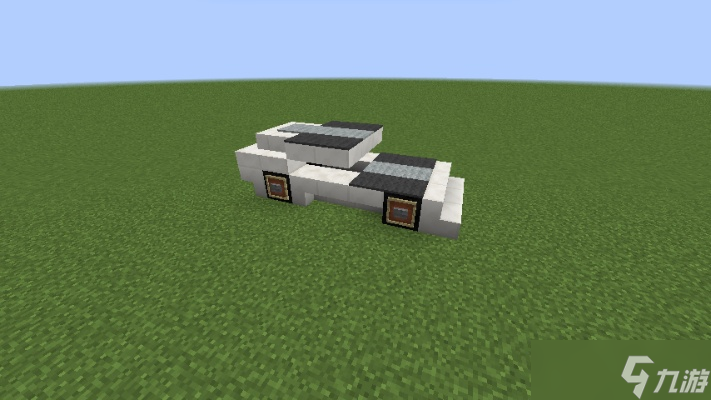
Tire Construction: Use black wool to place four circular structures, each about 2-3 blocks in diameter. For added detail, item frames can be added at the wheel hubs to simulate a metallic texture.
Chassis Assembly: Fill the space between the tires with blocks to form a flat chassis, 1-2 layers thick. Use consistent materials to ensure structural unity, and the edges can slightly extend beyond the body to prevent scraping.
4. How to add a power system to the car?
The redstone power system is the core of the car’s movement. A simple version is as follows: Install sticky pistons at the front of the chassis and corresponding regular pistons at the rear, connecting them with slime blocks to form an “H”-shaped frame. Then, place a redstone block next to the sticky piston to activate the power. After removing the supporting blocks, the vehicle will hover. The player can stand in a specific position (e.g., in front of the slime block on the regular piston side) and right-click the sticky piston with flint and steel to trigger movement. Continuous clicking will keep the car moving forward. An advanced version can incorporate redstone repeaters to enable speed adjustment or reverse functionality.
5. How to handle body details for greater realism?
Windows and Doors: Leave 1×2 block gaps on the sides of the body and fill them with glass or iron bars. Doors can be simulated using trapdoors for an opening/closing effect.
Lights and Decorations: Use beacons, glowstone, or redstone lamps as headlights and taillights. Automatic nighttime lighting can be paired with daylight sensors. Add a steering wheel (stair block), seats (carpet), and interior storage (shulker boxes) to enhance practicality.
6. How to test and optimize car performance?
After construction, comprehensive testing is required: test drive on both flat and rough terrain to check for smooth movement and structural stability. If lag occurs, reinforce the chassis or adjust the wheel spacing; if power is insufficient, expand the redstone circuit or add more piston groups. Ensure the bottom remains 1 block above ground to prevent getting stuck, and regularly maintain decorative parts to avoid detachment.
7. What common construction mistakes should be avoided?
Structural Imbalance: Wheels placed too close together may cause tipping, while too far apart makes turning difficult. Strictly maintain the 3×4 block layout.
Redstone Malfunctions: Incorrect piston orientation or misplaced redstone blocks can cause power failure. Carefully verify connections step by step.
Material Misuse: Avoid using gravity-affected blocks (such as gravel). Prioritize stable materials like stone or metal.
8. What are some advanced modification techniques?
Smart Features: Add redstone circuits to enable automatic headlights, horn sounds (via note blocks), or turret defense systems.
Cargo Upgrades: Embed shulker boxes or chests inside the car to significantly increase storage capacity.
Multiplayer Collaboration: Work with teammates to create a fleet of cars, unify styles, and host racing events to enhance the social aspect of the game.
By following these steps, players can gradually master car construction techniques from basic to advanced. The key lies in patient practice and creative integration to build your own unique vehicle.


